
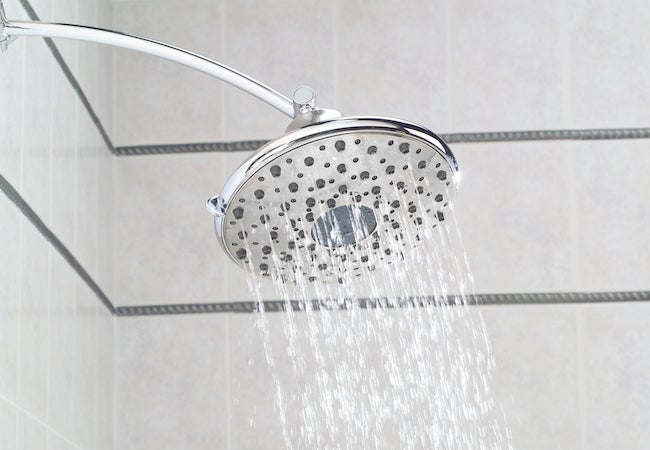
The pipe concealed behind the wall and extends from the showerhead to the water supply is referred to as the shower arm. It is this pipe that gives the shower its name. The length and design of an arm can be altered, but generally, they’re constructed of chrome steel, come in at around 12 inches in length, and have a bend in the middle. Male pipe threads that measure and have a half an inch diameter may be found on both ends of this piece.
To successfully install a shower arm, the rough-in plumbing has to be furnished with an elbow made of 1/2-inch bronze with sufficient diameter to accommodate the shower arm. It is essential to provide a robust connection between the elbow and the frame situated just below the opening in the wall that the shower arm penetrates. Because of this, the elbow won’t be able to move about as much. After gathering all of the necessary items, all that is needed of you to replace your shower arm effectively is to follow these five simple steps:
Step 1:
It would help if you chose which side of the shower arm will be inserted into the wall so that you may proceed. It should be evident enough from the design, but if it isn’t, the box or the instructions should tell you which side will be the front.
Step 2:
The easiest technique to guarantee that the threads are thoroughly sealed is to apply PTFE thread sealing tape in a clockwise direction as you work your way around the threads. It is recommended that you wrap the PTFE tape around the pipe in the wall five or six times if it is a galvanized pipe. If that is impossible, you must wrap it around the threads three or four times.
Step 3:
After you have attached the escutcheon, also known as the trim ring, to the shower arm, the next step is to tighten the arm into the fitting manually. After you finish the first step, you are free to go on to this one. When you initially begin working with the threads, you need to exercise extreme caution so that they do not get intertwined with one another as you continue to work.
Step 4:
Hand-torquing the screw twice or thrice will result in a significantly increased level of stability. Adding an extra layer of protection by turning the arm with the wrench another two or three times can accomplish this. Because this is the most that can be done, it is recommended that the arm be tightened no more than six times in total, as this is the most permitted.
Step 5:
It’s time to align the shower arm, so the outlet is perfectly centered when lowered. After the fourth spin, this should be done as quickly as feasible. With the arm down, it is vital to perform this motion. When the arm begins to stiffen, you should do this motion. You may continue tightening the shower arm for a fifth revolution if you think it’s still too loose, and the shower arm is still rotating pretty readily after the fourth revolution.
The shower arm should be replaced if it is too loose after the fifth rotation and the shower arm continues to spin reasonably readily. If, after the fifth rotation, you still feel that the shower arm is too loose and it spins pretty easily, you should consider replacing the shower arm. It is likely that the shower arm is damaged if, after making these adjustments, you still feel it is too loose.
Conclusion:
Whether you need to repair a shower arm because it is leaking, has residue on it, or has rust on it (or you want to upgrade), it is work that most homeowners can do themselves using items they already possess in their house. If you have concluded that you need a change and are prepared to implement it, the time has come to educate yourself on how to replace a shower arm. It is because the shower arm has to be changed at this juncture.