
In my opinion, the Wavlink AC1200 and AC600 access and configuration processes are the same. On this page, we’ll go over the login process for the Wavlink extender and one method for installing the AC1200 and AC600 extenders. You can do this process without any technological knowledge and in less time on your own. Consequently and carefully read this page.
Typical Wavlink Extender Setup Requirements
Just bear in mind a few items before starting the Wavlink AC1200 setup process that you’ll need for the login and configuration processes.
- Need a live internet connection on the host router.
- Any device with WiFi that has access to the web browser.
- IP addresses or the default web address must be known.
Wavlink Extender Sign-In Procedure: How To Do
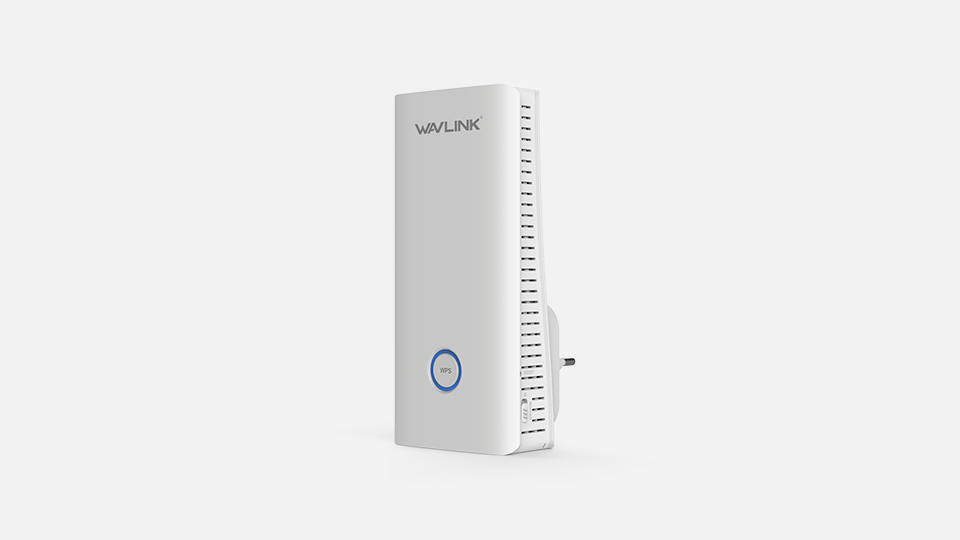
- The Wavlink WiFi range extender power plug should first be inserted into a wall outlet.
- After that, use an Ethernet connection to connect your computer to the Wavlink extender network.
- Launch navigation after that, then type wifi.wavlink.com login into the address bar.
- At this point, your screen will display the Wavlink extender login page.
- Examine the label or bottom of your Wavlink repeater if you don’t know the credentials.
- As a result, the Wavlink extender login process has finished.
Note: You can substitute an IP address in place of 192.168.10.1 if the web URL wifi.wavlink.com login is not functioning properly.
Wavlink AC1200 Extender Model Specifications
- The Wavlink WiFi range extender operates at 2.4GHz and 5GHz.
- While the 5GHz frequency gives 867 Mbps, the 2.4GHz band only offers 300 Mbps.
- It performs better even if it is smaller.
- You can quickly set up a Wavlink AC1200 using the web UI approach.
- There are three different WiFi LED signal lights.
Wavlink AC600 Extender Model Specifications
- The Wavlink AC600 WiFi range extender’s interior coverage area is about 130 meters.
- The Wavlink AC600 WiFi range extender has an outdoor range of roughly 500 meters.
- Furthermore, it supports two frequency bands.
- External dual-band antennas are on the AC600 Wavlink extender.
- You may quickly connect the AC600 repeater to the host router by pressing the WPS button.
Setup The Wavlink AC600 Extender Using WPS
- Place your Wavlink AC600 repeater initially close to the primary router.
- Then, on your primary router, press the WiFi-protected system button.
- Press the WiFi-protected system button on the existing router inside in two minutes.
- Next, wait a short while for the repeater and router devices to both have solid blue LEDs.
- As a result, it indicates that the Wavlink AC600 setup has been completed flawlessly.
Wavlink AC600 Extender Configuration Through Web UI
- The Wavlink AC600 repeater power plug should be inserted into the wall outlet.
- Now, use an Ethernet cable to connect your Wi-Fi-enabled device to the Wavlink AC600 extender network.
- Subsequently, type the IP address or website address into the URL box.
- Also, fill out all the required fields.
- Additionally, click on the new repeater setup page and proceed by carefully following all of the instructions or stages.
As a result, the Wavlink AC600 setup procedure is successfully completed.
Common Problems With Your Wavlink Extender
You can experience the following issues when utilizing the Wavlink WiFi repeater:
Issues With Compatibility
Additionally, the Wavlink Extender might not connect or work properly with some gadgets or operating systems due to compatibility difficulties.
Software Issues
Numerous problems, such as frequent disconnections, sluggish internet speeds, and connectivity issues, can be brought on by outdated firmware.
Reset Your Wavlink Repeater
- First, examine the Wavlink WiFi range extender’s back panel.
- The Wavlink device’s reset hole button is located on the back.
- At this point, use a paperclip to press the button.
- The Wavlink repeater devices’ LEDs are all currently off.
- The extender reset’s success can easily be seen by this.
After reading this, type wifi.wavlink.com login into the search bar if you wish to make any modifications to the Wavlink device. If your website address is not functioning properly, take the following actions:
How To Fix If Your Web Address Not Working
Here are some methods for troubleshooting you can use if you’re having issues logging in to wifi.wavlink.com:
- Ensure your WiFi router is operational and that the gadget is linked to the internet.
- Try clearing your browser’s data and cookies. This will assist in getting rid of any temporary files that might be the problem.
- Try a different browser if you are accessing the website with a specific one. This step can identify a browser-specific issue.
- Verify that you’re using the right URL. Verify your spelling one more time.
Try resetting your Wavlink device if, after this procedure, the issue persists.
After reading this blog, you ought to be able to correctly configure your Wavlink AC1200 & AC600. If none of the aforementioned techniques work, you can also speak with our technical staff.
Read More: PISO Wifi Pause Time – A Complete Walkthrough to PISO Internet Model